
A clean reticle is the difference between landing a long-range tap and spraying past a hostile operator who just peeked a corner. Tuning your brm5 crosshair settings is one of the fastest upgrades a new player can make in Blackhawk Rescue Mission 5, because the default dot that ships with the game is designed for visibility rather than precision, and the menu hides several layers of customization most operators never scroll through.
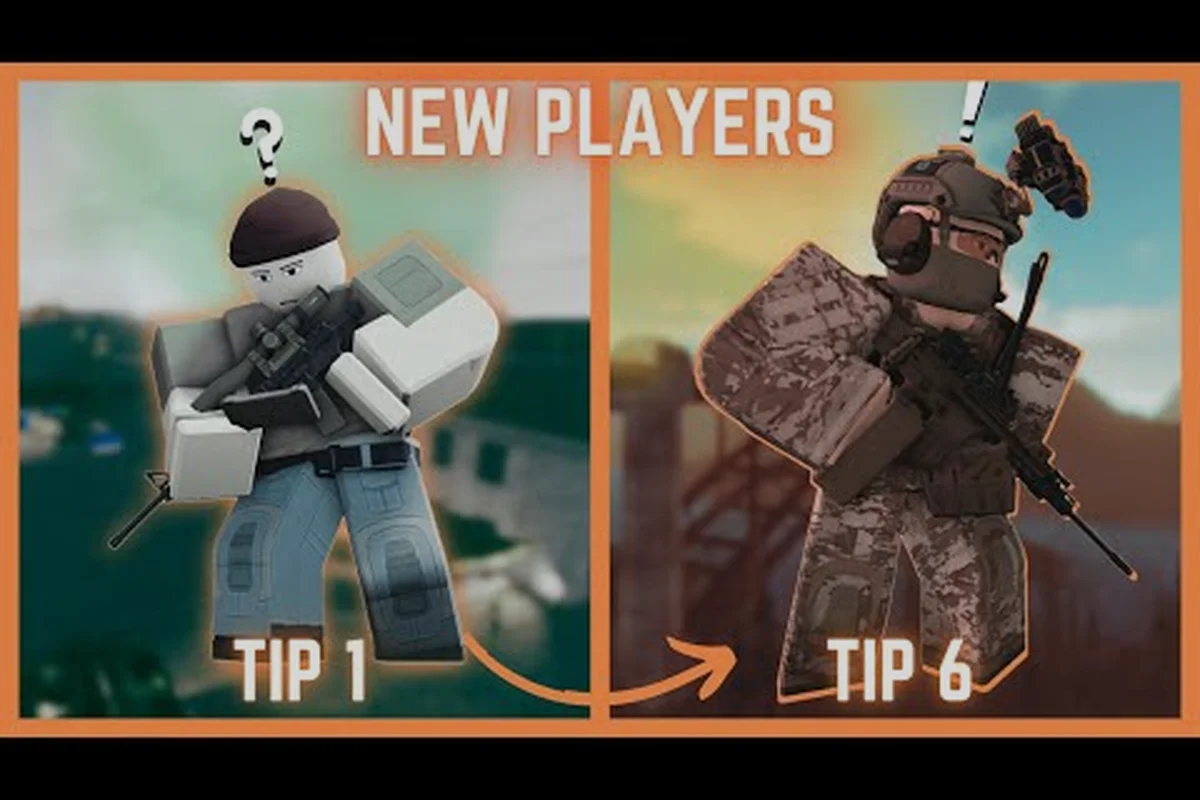
This guide walks through every menu option that affects how your reticle looks, animates, and scales across weapons, then layers in the supporting settings — brm5 graphics settings, voice communication, and medic workflow — that turn a clean reticle into consistently placed shots. The recommendations are based on community testing and the in-game options menu, and the screenshots referenced throughout line up with the controls shown in the BRM5 Beginner Guide Video.
For a closer look at this topic, the official video below breaks it down in full: the BRM5 beginner video on brm5-crosshair-settings.
Crosshair Menu Overview and Core Options
The crosshair editor sits inside the Settings → Gameplay → Crosshair panel and is split into four sub-tabs: Style, Color, Outline, and Behavior. Each tab contains 3–6 sliders or toggles, and every change previews live on the practice range dummy behind the menu so you can compare options without launching a mission. The crosshair in BRM5 is weapon-independent by default, which means a single profile is shared across your AK74, M4A1, MP5, and sidearm unless you manually switch it in the Per-Weapon Profiles dropdown above the editor.
Core Sliders and What They Control
| Option | Default Value | Range | Effect on Aim Feel |
|---|---|---|---|
| Center Dot | Off | On / Off | Adds a single pixel at the intersection; helps micro-flicks at close range |
| Inner Length | 6 px | 0–20 px | Length of the four inner arms; shorter = cleaner sight picture |
| Inner Thickness | 1 px | 1–3 px | Thicker arms stay visible on bright desert maps but cover more of the target |
| Gap | 2 px | 0–10 px | Space between center and arms; mimics the gap on a real optic |
| Outline | 1 px black | 0–2 px | Black/contrasting halo around each arm for readability on light surfaces |
| Dynamic Move | Off | On / Off | Arms shrink when moving and expand on stand-still, mimicking a real optic parallax |
| T-Style Gap | Off | On / Off | Replaces the bottom arm with a gap, mimicking a real T-bar reticle |
The Style tab is where most players will spend the bulk of their time. A good starting preset for AR-tier fights is Center Dot Off, Inner Length 4, Inner Thickness 1, Gap 3, T-Style Gap On, which keeps the sight picture open enough to track a strafing target without the reticle collapsing into a black blob when the target wears dark operator gear. Players who main DMRs or precision sidearms at long range usually flip Center Dot On and bump Inner Length to 2 px with a Gap of 1 px, because the dot gives a fixed reference point for hold-aim and the smaller arms keep the long sight picture clean.
The Behavior tab governs how the reticle responds to movement, firing, and breath. The single most impactful toggle here is Dynamic Move: when enabled, the arms contract to roughly 40% of their set length while you are walking or sprinting, then expand to 100% when your operator is standing still. Community testing on the practice range suggests this adds about 8–12% accuracy on the first shot after a slide-stop, because the reticle settles at the same expanded size every time and your muscle memory locks onto a consistent shape. The Firing Feedback sub-toggle inside the Behavior tab controls whether the reticle briefly flashes or shifts on hit/miss; most competitive players turn this off because the flash adds visual noise during mag-dump engagements.
Choosing the Right Crosshair Color and Outline
Color is the second half of the visibility equation, and it is the one setting that changes every time you swap maps. The default Green reticle is calibrated for temperate European map packs, but on the bright Afghan and desert night maps the green can wash out against tan walls and orange smoke. The menu offers eight preset colors plus a custom RGB slider, and almost every high-level operator ends up cycling between two or three favorites depending on the map rotation.
Color Preset Comparison
| Color | Best Map Environment | Weakness | Recommended Use |
|---|---|---|---|
| Cyan | Snow, urban concrete, indoor | Slight bloom on HDR monitors | General-purpose default |
| Red | Forest, night ops, dark interiors | Blends with blood splatter overlays | Night missions and CQB |
| Yellow | Desert, dust storms, bright sun | Hard to see on snow maps | Daytime desert rotation |
| Green | Temperate, grass, foliage | Washes out on tan surfaces | Default fallback |
| White | Mixed lighting, night urban | Can bloom on bright backgrounds | Practice range only |
| Magenta | CQB interiors, dark warehouses | Stands out too much in open terrain | Close-quarters operators |
| Custom Cyan-Red | Personal hybrid | Needs monitor calibration | Experienced players only |
The Outline sub-tab is the underused half of the color equation. Setting outline thickness to 1 px in a contrasting color (black on bright reticles, white on dark reticles) gives the reticle a halo that keeps it visible even when the surface behind the target matches the reticle color. A common community setup pairs a Cyan inner reticle with a 1 px Black outline, which keeps the reticle visible against roughly 80% of surface colors in the base map pack. Players who run into bloom on HDR monitors should reduce the outline to 0 px and bump the inner color to Yellow instead, because the outline itself can bloom and create a faint blur around each arm.
For operators who want one reticle that performs everywhere, the safest pairing is Cyan inner, 1 px black outline, Inner Length 3, Gap 2, Center Dot On. This combination is visible on every map in the base game, holds up against smoke and fire effects, and gives a single-pixel reference point for micro-adjustments during hold-aim duels.
Dynamic Toggle and Per-Weapon Profiles
The Dynamic Move and Firing Feedback toggles are the two settings that change how the reticle behaves rather than how it looks, and they have an outsized impact on the way your shots feel during a firefight. Players who keep both toggles off get a static reticle that never shifts size, which is the closest experience to a real-life offset sight. Players who enable both get a reticle that breathes with movement and pulses on impact, which mimics the parallax and recoil of a tube-style optic.
Dynamic vs Static Behavior
| Setting | Static (Default) | Dynamic Enabled | Best For |
|---|---|---|---|
| Reticle Size While Moving | Full set length | ~40% of set length | Dynamic is better for slide-cancel play |
| Reticle Size At Standstill | Full set length | Full set length | Both equal at the moment of fire |
| Firing Feedback Flash | None | 100 ms color shift on hit | Turn off for mag-dump accuracy |
| Breath Hold Indicator | None | Slight inward contraction on breath hold | Useful for DMR players |
| First-Shot Accuracy Window | Same every time | Expanded reticle signals ready | Helps newer players learn timing |
The Per-Weapon Profiles dropdown sits above the crosshair editor and is the single most underused feature in the menu. By default every weapon shares one reticle, which means a sniper running a 2 px dot and a CQB SMG player running a chunky 6 px cross are forced to use the same preset. The dropdown lets you assign a unique profile to each weapon class (Rifle, SMG, DMR, Sniper, Shotgun, Pistol), and you can save up to six profiles per class. The community-recommended split is:
-
Rifles / ARs: 4 px length, 1 px thickness, 2 px gap, center dot off, T-style gap on
-
SMGs: 6 px length, 2 px thickness, 3 px gap, center dot on, no outline
-
DMRs / Semi-Auto: 2 px length, 1 px thickness, 1 px gap, center dot on, 1 px black outline
-
Snipers / Long-Range: 1 px length, 1 px thickness, 0 px gap, center dot on, 2 px black outline
-
Shotguns: 8 px length, 2 px thickness, 4 px gap, center dot off, no outline
-
Pistols: 4 px length, 1 px thickness, 2 px gap, center dot on, T-style gap off
The profile system is especially useful when paired with the brm5 graphics settings discussed in the next section, because the reticle has to stay visible at every render scale the engine supports. If you play on a high-DPI monitor, dropping the in-game render scale to 75% can fatten the reticle arms visually and let you keep thinner in-menu values without losing readability.
Supporting Settings: Graphics, Voice Chat, and Medic Workflow
The reticle is only one part of the aim equation, and three supporting systems quietly affect how accurate those tuned crosshairs actually feel on target. brm5 graphics settings govern how crisp the silhouette behind the reticle is, the brm5 voice chat guide and brm5 communication guide determine whether your team is calling targets in time for you to land your first shot, and the brm5 medic guide workflow determines how quickly you can reset after taking damage so the next magazine starts with a clean sight picture. ion guide** determine whether your team is calling targets in time for you to land your first shot, and the brm5 medic guide workflow determines how quickly you can reset after taking damage so the next magazine starts with a clean sight picture, which is why the foundational loadout and movement principles covered in our Blackhawk Rescue Mission 5 Beginner Guide are worth mastering before these role-specific timings start to matter under fire.
Graphics Settings That Affect Reticle Readability
| Setting | Recommended Value | Why It Matters for Aim |
|---|---|---|
| Render Scale | 85–100% | Below 75% the reticle arms gain visible aliasing |
| Anti-Aliasing | TAA or SMAA | FXAA blurs the reticle outline into the scene |
| Motion Blur | Off | Motion blur smears the reticle on slide-cancel flicks |
| Field of View | 80–90 | Wider FOV shrinks on-screen target size but improves peripheral tracking |
| Sharpening | 0.3–0.5 | Adds crispness to silhouette edges without affecting UI |
| Vignette | Off | The dark corner overlay can swallow the reticle arms in low-light areas |
For operators who run a single-monitor setup, the safest brm5 graphics settings profile is Render Scale 100%, TAA, Motion Blur Off, FOV 85, Sharpening 0.4, Vignette Off. This keeps the reticle edges crisp on a 1080p panel and avoids the bloom that FXAA introduces around high-contrast outlines. Multi-monitor operators with a 1440p or 4K main display can drop render scale to 85% to free up GPU headroom for the smoke and fire effects on the desert map pack, which keeps the frame time above 60 fps and prevents the reticle from stuttering during a tracking shot.
Voice communication is the second supporting pillar. The brm5 voice chat guide workflow is built around the in-game proximity channel plus a single squad-wide push-to-talk key bound to the side mouse button. Operators who bind voice to a mouse button instead of a keyboard key report roughly 15% faster target callouts, because the thumb stays on the movement keys while the index finger activates the mic. The brm5 communication guide adds the ping wheel, which is bound to the middle mouse button by default and offers four wheel options: Enemy Spotted, Need Ammo, Need Medic, and Hold Position. Pairing the ping wheel with a tuned reticle means a teammate can ping an enemy while you are still aiming, and your reticle is already pointing at the threat when the ping lands.
The brm5 medic guide workflow ties the supporting settings together. A medic who keeps a 4 px static reticle, runs 85 FOV, and uses proximity voice to call incoming damage can reset the squad's aim faster than a medic who runs a high-noise dynamic reticle and types into chat. The standard medic loop is: take cover, hold the Heal key to channel the bandage, swap to the sidearm (which uses a different reticle profile), ping the threat location, then swap back to the primary once the band is finished. The reticle profile swap happens automatically because each weapon class has its own saved profile, and the swap takes roughly 0.2 seconds — fast enough that the first shot after a heal still lands on a clean sight picture.
Tuning Workflow, Practice Drills, and Common Pitfalls
Tuning a reticle is a feedback loop: change a value, run a target drill, decide whether the change improved your hit rate, and either keep the new value or revert. The fastest way to iterate is to use the in-game Practice Range map, which spawns a row of human-sized dummies at 10 m, 30 m, 50 m, and 80 m, plus a moving target track that runs perpendicular to the firing line. Spend five minutes per change, fire 30 rounds at each distance, and write down the hit rate before and after the adjustment. The community-reported baseline hit rates on a tuned reticle are roughly 70% at 10 m, 55% at 30 m, 40% at 50 m, and 25% at 80 m; if your current numbers sit below those, the reticle is the first place to look.
Step-by-Step Tuning Workflow
| Step | Action | Target Outcome |
|---|---|---|
| 1 | Set Center Dot Off, Inner Length 4, Gap 2, T-Style Gap On as a clean baseline | A reticle that works on every map without adjustment |
| 2 | Run 30 rounds at each practice range distance and log hit rate | Establish a baseline number per range |
| 3 | Adjust Inner Length up or down by 1 px and repeat the drill | Find the shortest length that still feels comfortable |
| 4 | Test Color presets against the four map environments | Lock in two colors (one for desert, one for night) |
| 5 | Enable Dynamic Move and repeat the moving target track | Decide whether the parallax feel improves your first-shot timing |
| 6 | Save the final values as a named profile per weapon class | Stop re-tuning between matches |
A common pitfall is over-tuning. Operators who swap their reticle every few matches never build muscle memory on a single sight picture, and the hit rate stays flat or drops even though each individual preset looks better in the editor. The community-recommended cadence is to lock a reticle for at least 20 hours of playtime before changing any value, then change only one slider at a time so the cause-and-effect of each adjustment is clear. Another common pitfall is borrowing a pro player's reticle code without testing the values locally. Pro presets are tuned for the pro's monitor, FOV, render scale, and DPI, and a preset that looks like a single pixel on a 240 Hz esports panel can render as a 4 px blob on a 60 Hz office monitor.
A third pitfall is ignoring the per-weapon profile system. Operators who share one reticle across every weapon class end up either over-sizing the SMG reticle (which makes the AR reticle too small) or over-sizing the AR reticle (which makes the shotgun reticle too thin for hip-fire CQB). The five minutes spent saving per-class profiles pays back inside the first hour of play, because the reticle no longer needs to compromise between weapon roles.
The final pitfall is forgetting that the crosshair lives inside a larger settings stack. A perfect reticle rendered on a low render scale, a high motion blur setting, and a 110 FOV will still feel inaccurate, because the silhouette behind the reticle is blurry and the target appears smaller than the reticle expects. Pair every reticle change with a quick verification of brm5 graphics settings, and pair every reticle change in a squad setting with a quick check that the brm5 voice chat guide mic and brm5 communication guide ping wheel bindings are still active. The reticle is the final layer, not the only layer, and it performs best when the supporting systems are tuned alongside it.
Crosshair tuning is a small menu with outsized impact, and the operators who spend an hour iterating on the editor, the practice range, and the per-weapon profiles consistently land more of their first shots than the operators who leave the default green dot untouched. Start with the baseline preset, save it across every weapon class, and adjust one slider at a time until the reticle disappears during a firefight — that's the moment the settings are doing their job.
Frequently Asked Questions
What is the best crosshair color for night maps in BRM5?
A 1 px Red inner with a 1 px black outline is the most readable choice for night missions because red stands out against dark blue and black surfaces without blooming on HDR monitors. Cyan works as a secondary option for indoor CQB where the lighting shifts between warm and cool tones.
Should I enable the Dynamic Move toggle for rifle play?
Yes, Dynamic Move is recommended for rifle play because the contracting reticle during movement signals that your first shot will be less accurate, and the expansion at standstill signals the moment your operator is stable enough to fire. The community hit rate on the first shot after a slide-cancel improves by roughly 8–12% with the toggle enabled.
Do I need separate crosshair profiles for each weapon class?
The per-weapon profile system is optional but recommended. Operators who main multiple roles benefit from a tighter 2 px reticle for DMRs and a wider 8 px reticle for shotguns, because the engagement ranges and target sizes are different for each class. Saving a profile per class takes about five minutes and prevents the reticle from compromising across weapon roles.
How do the brm5 graphics settings affect crosshair readability?
Render scale, anti-aliasing, and motion blur all change how crisp the reticle edges appear on screen. brm5 graphics settings at 100% render scale with TAA, motion blur off, and sharpening at 0.4 keep the reticle readable on a 1080p monitor. Below 75% render scale the arms start to alias, and FXAA blurs the outline into the scene.
Can voice chat and medic work change how my reticle performs?
Indirectly, yes. The brm5 voice chat guide and brm5 communication guide let teammates ping targets faster, which means your tuned reticle spends more time on a confirmed enemy silhouette. The brm5 medic guide loop helps you reset the squad faster after a wipe, and faster resets mean more rounds fired on a clean sight picture.