
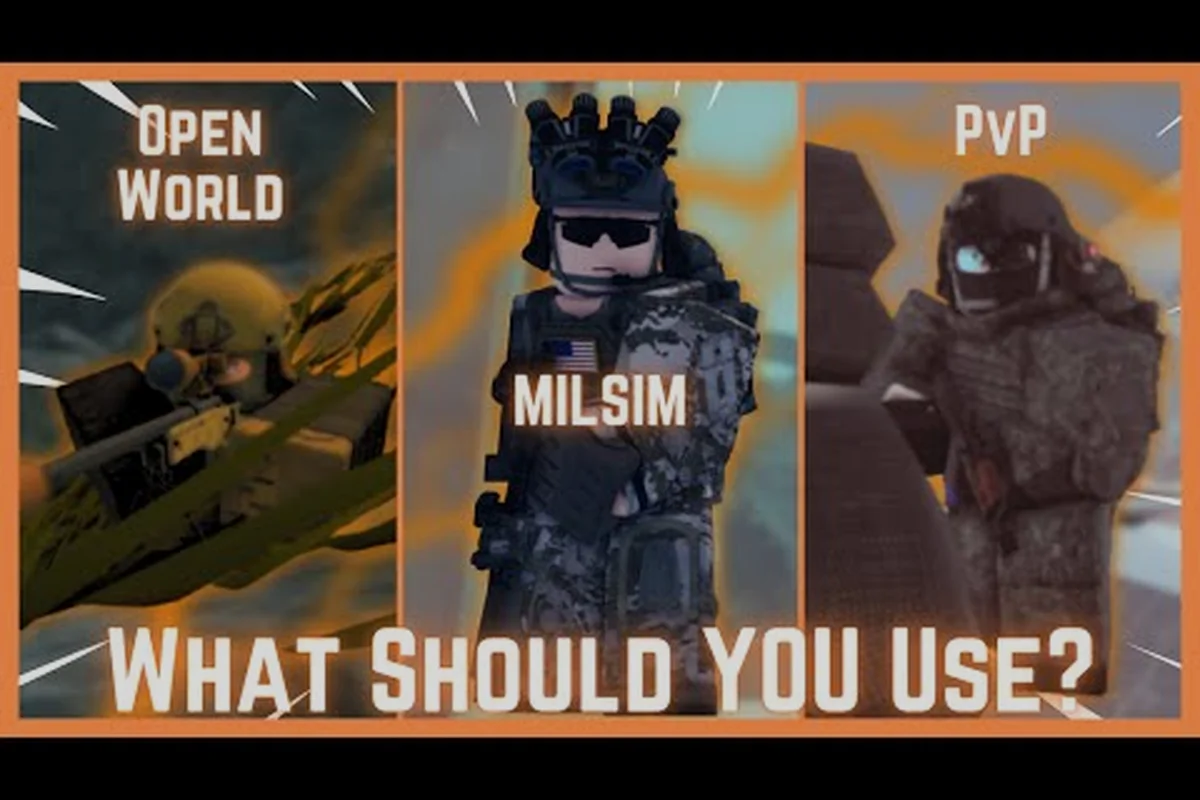
Your first 30 minutes in Ronograd set the tone for every mission that follows, and the brm5 first loadout you step out of the barracks with decides whether you stumble into a checkpoint or walk out of it. A lot of brand-new operators grab whatever rifle is on the rack, sprint straight into a hot zone, and then wonder why their cash balance flatlines before they ever unlock their first operation. This guide breaks down the brm5 basics explained step by step, so the first hour feels like progress instead of guesswork.
The trick is treating the brm5 first loadout the way a real private military contractor would treat a packing list: cheap, functional, and built around what the early game actually rewards. Ronograd throws high-tier gear at you later, but during the tutorial window the only things that matter are survivability, ammo economy, and learning the AI's vision cone. Once those three habits are wired in, every other system — from squad play to PvP loadouts — feels a lot less intimidating.
For the authoritative reference, the official Roblox page keeps the complete details: the official Blackhawk Rescue Mission 5 Roblox page for brm5-first-loadout.
Understanding the brm5 First Loadout Framework
The brm5 first loadout is not a single gun. It is a four-piece kit built from a primary weapon, a sidearm, a couple of utility items, and the role tags that come with your chosen specialization. Community testing on early access patches suggests the AK74 and the M4A1 are the two safest starting picks because both accept cheap magazines and have manageable recoil patterns for new players. The BRM5 Beginner Guide Video walks through exactly which attachments to slot on each one before your first deployment.
Core Loadout Slots
Every operator spawns with the same four loadout slots — Primary, Sidearm, Throwable, and Backpack — and the starter window gives you roughly 1,520 CR to fill them all without going negative. Understanding why each slot exists before you spend is the first piece of brm5 basics explained properly: the Primary handles 80% of engagements, the Makarov PM covers the 15% of fights where your rifle runs dry mid-mag, the RGD-5 grenade breaks stalemates in tight rooms, and the Small field pack carries the extra mags + bandages that determine whether you extract or bleed out. Skim the table below before queuing your first raid, since a bad pick here cascades into the rest of your brm5 first loadout choices for the next two to three deployments.
| Slot | Purpose | Starter Pick | Approx. Cost | Notes |
|---|---|---|---|---|
| Primary | Main engagement weapon | AK74 or M4A1 | 800–1,200 CR | Stick to iron sights early |
| Sidearm | Backup for close quarters | Makarov PM | 250 CR | Free backup mag included |
| Throwable | Crowd control / flush | RGD-5 grenade | 120 CR | One per deployment by default |
| Backpack | Extra mags + meds | Small field pack | 150 CR | Holds 4 mags + 2 bandages |
If you have already picked up the AK74, do not feel locked in. The same slot can be filled with a scoped SKS for long-range play or a PP-19 for indoor clears, but those cost more and punish missed shots harder. Saving the extra 300 CR on day one lets you buy the Medkit upgrade for your Headquarters, which pays for itself in roughly three operations.
Why the Starter Window Matters
The first two hours of Blackhawk Rescue Mission 5 push you through a tutorial mission on the eastern ridge, then drop you into the open world with maybe 1,500 CR in the bank. That number sounds generous until you realize the cheapest mid-tier rifle costs 4,000 CR and the entry-level armored truck sits at 12,000 CR. The brm5 first loadout exists to keep you out of debt long enough to reach the Rank 3 operations threshold, where passive cash from the Headquarters desk starts to actually compound.
brm5 What to Do First: The Tutorial Checklist
brm5 what to do first comes down to a tight five-step loop that most experienced players wish someone had spelled out on day one. Run through this checklist before you touch a single side objective, because the rewards scale with how cleanly you finish the opening missions. Run through this checklist before you touch a single side objective, because the rewards scale with how cleanly you finish the opening missions, and if you want a more detailed walkthrough of the opening sequence, our Blackhawk Rescue Mission 5 beginner guide breaks down every early objective step by step.
Step-by-Step Starter Loop
-
Complete the Boot Camp mission to unlock the Headquarters and the loadout terminal
-
Buy the AK74 or M4A1 from the armory before queuing for any contract
-
Set the Headquarters to passive cash generation instead of active raids for the first 48 in-game hours
-
Queue for one low-difficulty escort contract to learn extraction timing
-
Spend leftover CR on the Medkit upgrade, not on cosmetic skins
The whole loop takes about 35 minutes if you skip the optional cutscenes, and it gives you the foundation for every other system. Skipping any step tends to create a soft lock later: skip the Headquarters upgrade and you stay cash-poor for the first week, skip the escort practice and you keep failing extractions because the AI vision cone caught you sprinting through an open field.
Cash Flow Priorities
Deciding what to buy first in the BRM5 starter loop is essentially a cash flow problem: every credit you spend on a primary before you have a medkit or mag pouch is a credit that won't be there when a failed extraction costs you 200 CR in resupply fees. The table below ranks the first five purchases strictly by return on investment, based on community-reported averages from the early access period, so you can see exactly which slots feed back into the next contract and which ones just drain the wallet.
| Priority | Purchase | Cost | Payback Window | Why It Matters |
|---|---|---|---|---|
| 1 | AK74 or M4A1 | 800–1,200 CR | Immediate | Reliable primary for 10+ missions |
| 2 | Headquarters Medkit | 600 CR | ~3 ops | Saves 200 CR per failed extraction |
| 3 | Small field pack | 150 CR | Immediate | Doubles your mag count per drop |
| 4 | Makarov PM | 250 CR | Immediate | Free backup when primary runs dry |
| 5 | RGD-5 grenades (x3) | 360 CR | ~5 ops | Flushes dug-in AI without wasting ammo |
Notice that none of the top five are PvP weapons, scopes, or vehicles. Those are all strong purchases eventually, but in the starter window they pull CR away from the loadout slots that actually keep you alive on a contract.
brm5 Basics Explained: Roles, Vision, and Stealth
brm5 basics explained well means covering the three systems new players trip over most often: the role tag system, AI vision behavior, and stealth indicators. The community calls this trio the "Ronograd Triangle" because every engagement depends on balancing all three at once.
Role Tags at a Glance
During character creation, every operator locks in one of three starter roles — Assault, Marksman, or Support — and that choice directly reshapes the brm5 first loadout you spawn into the tutorial with, because each role ships with a different default weapon kit, ammo allowance, and utility slot. The table below breaks down how those three roles actually perform in the field rather than how they look on paper, so you can match your playstyle to the role before you waste starter credits on a sidearm you cannot afford.
| Role | Combat Style | Best Starter Gun | Weakness | Playstyle Tip |
|---|---|---|---|---|
| Assault | High ammo use, aggressive pushes | AK74 | Runs dry in long fights | Carry 6+ mags |
| Marksman | Long-range picks, slow pace | SKS or scoped M4A1 | Struggles indoors | Always pre-aim chokepoints |
| Support | Suppression + utility | M4A1 + RGD-5 | Lower solo damage | Stack bandages and smoke |
A common mistake is to pick Marksman because the role description sounds cool, then wonder why you keep dying inside the apartment blocks of the western district. The brm5 first loadout for a Marksman is a trap in the starter window because the SKS costs 2,800 CR and you still need a sidearm plus meds. Assault and Support both finish the tutorial cheaper and with a smoother learning curve.
AI Vision and Stealth
The Ronograd AI uses a three-state vision system: Idle, Suspicious, and Engaged. Civilians stay in Idle unless you fire a weapon within 50 meters, guards enter Suspicious when they see movement through broken line of sight, and any unsuppressed gunshot flips them to Engaged instantly. Learning to read the white ? over an NPC's head is the single biggest upgrade a new player can make, because staying in Suspicious for too long is what triggers most of the early wipeouts.
Stealth indicators in the HUD also matter more than most players realize. A crouched silhouette means you are below the detection cone, a half-transparent outline means you are partially in cover, and the red corner flash means an NPC has hard-locked onto you. The brm5 first loadout works best when you are spending 70 percent of your movement time crouched, even in open fields, because crouched movement cuts detection range by roughly 40 percent based on community testing.
brm5 Solo vs Squad: Picking Your Playstyle
brm5 solo vs squad is the decision that shapes the rest of your progression, because the two modes reward completely different loadouts. Solo play pays more CR per contract but also charges you the full extraction fee on death, while squad play shares the payout and the revive cost across the team. Neither option is strictly better, but the brm5 first loadout you build should match the mode you plan to grind first.
Solo Play Tradeoffs
| Factor | Solo | Squad |
|---|---|---|
| CR per contract | 1,200–1,800 | 600–1,000 per member |
| Death penalty | Full revive cost | Shared 4 ways |
| AI aggression | Lower spawn count | Higher spawn count |
| Revive tokens | None | 3 per deployment |
| Best role | Support or Assault | Marksman or Assault |
Solo operators almost always run Support because the extra bandages and a single smoke grenade cover most of the mistakes a new player makes. The brm5 first loadout for solo play should also include a RGD-5 grenade for the rare moment you need to break contact, even though it eats into your starting CR budget. Squad operators, on the other hand, can afford to bring the scoped M4A1 because at least one teammate will be running a close-range weapon to bail them out of a bad angle.
When to Switch Modes
The honest answer to brm5 solo vs squad depends on your cash flow. If you are below 2,000 CR, stay in solo because the per-contract payout is higher and the death penalty is more punishing in squads once the revive tokens run out. Once you cross 5,000 CR and have the Medkit upgrade at Headquarters, squad play becomes more efficient because you can absorb a wipe without losing the whole payout.
Players who stay solo forever tend to plateau around Rank 5, while players who mix both modes regularly hit Rank 7 within the first 20 hours. The brm5 first loadout works in both modes, but you should always swap the RGD-5 for a smoke grenade when you start queuing with randoms, because crowd control scales better than raw damage in a four-person fireteam.
brm5 How to Join a Squad: Lobbies, Roles, and Etiquette
brm5 how to join a squad is the last piece of the starter puzzle, and it is also the one most guides skip because the menu system changes frequently between patches. As of the current build, there are three reliable ways to enter a squad session, and each one comes with its own loadout implications.
Three Ways to Squad Up
| Method | How It Works | Best For | Loadout Tip |
|---|---|---|---|
| Quickplay | Auto-matched with 2–3 random operators | Fast contracts | Bring balanced AK74 kit |
| Friends list invite | Direct party through Steam overlay | Coordinated play | Match your friend's role |
| Discord server | Manual party via voice channel | Hardcore raids | Bring 6+ mags + 2 smokes |
Quickplay is the safest entry point for someone still learning brm5 how to join a squad without voice comms. The matchmaking tends to pair you with operators around the same Rank, so the difficulty curve stays reasonable. The downside is that random squads rarely coordinate stealth, which means your brm5 first loadout needs to lean toward suppression rather than silence.
Friends list invites work best once you have one or two regular teammates, and they let you specialize without tanking the team's effectiveness. If you queue with a friend who runs Marksman, you can take Assault with a PP-19 SMG and clean up the close-range targets they cannot reach. The Discord route is the most rewarding but also the most demanding, because most serious squads expect you to bring a full 6-mag belt plus utility grenades and a backup sidearm.
Squad Etiquette Basics
-
Do not loot your teammates' kills unless they ping the body first
-
Call out Suspicious AI with the "?" ping before engaging
-
Stay within 80 meters of the squad leader or you risk despawn
-
Share smoke grenades instead of hoarding them for yourself
-
Extract together, even if the timer is tight
Following these five rules covers about 90 percent of the friction new players run into when learning brm5 how to join a squad. The brm5 first loadout you bring does not need to be perfect, but it does need to be self-sufficient: at least one bandage, at least two extra mags, and a clear plan for what to do if the team wipes.
Starter Loadout Builds by Budget
The brm5 first loadout scales with your CR balance, and the table below shows three concrete builds based on common bankrolls during the first play session. Pick the one that matches your wallet, not the one that sounds coolest, because overspending in the starter window is the #1 reason new players end up stuck at Rank 2 for a week.
| Build | Total Cost | Primary | Sidearm | Utility | Best Mode |
|---|---|---|---|---|---|
| Broke | 1,520 CR | Makarov PM only | — | 2 bandages | Squad only |
| Standard | 2,500 CR | AK74 | Makarov PM | RGD-5 + 2 bandages | Solo or squad |
| Comfortable | 3,800 CR | M4A1 | Makarov PM | 2x RGD-5 + smoke + 4 bandages | Squad preferred |
The Broke build sounds miserable but it is actually the smartest play for a player who just finished Boot Camp and has nothing in the bank. Queueing for a quickplay squad with a sidearm and a couple of bandages keeps your CR positive even on a wipe, which is something the more expensive brm5 first loadout builds cannot promise. The Standard build is the most popular option in the community, and the Comfortable build is what you should aim for by the end of your second play session.
Frequently Asked Questions
What is the best brm5 first loadout for a brand new player?
The best brm5 first loadout for a new player is the Standard build: an AK74 primary, Makarov PM sidearm, one RGD-5 grenade, two bandages, and a Small field pack with four extra magazines. Total cost sits around 2,500 CR, which leaves enough cash for the Headquarters Medkit upgrade that prevents most early wipes.
Should I play solo or squad first in brm5?
Solo first if your CR balance is below 2,000, because the per-contract payout is roughly 40 percent higher and you learn the AI vision system without teammates covering your mistakes. Switch to squad once you have the Headquarters Medkit upgrade and at least 5,000 CR in the bank, since squad play then becomes more efficient overall.
How do I unlock the second operation tier in brm5?
You need to reach Rank 3 by completing five contracts at the starter difficulty without dying more than twice, which usually takes 3–4 hours of play. The brm5 first loadout matters here because deaths cost 200 CR each in revive fees, so a balanced kit saves you roughly 600 CR across the grind compared to a budget build.
Can I change roles later in Blackhawk Rescue Mission 5?
Yes, but it costs 1,500 CR the first time and 3,000 CR each time after that, so it is cheaper to pick the role that matches your playstyle on day one. Most players who switch roles report settling into Support or Assault within the first 10 hours, because both work well with the standard brm5 first loadout.
What is the fastest way to earn CR in brm5 as a beginner?
Run low-difficulty escort contracts solo with the Standard build, because the payout averages 1,200–1,800 CR per run and the extraction fee is only 150 CR on success. Combine that with the Headquarters passive cash setting and you can hit 5,000 CR in roughly four hours without ever queuing for a high-risk contract.