
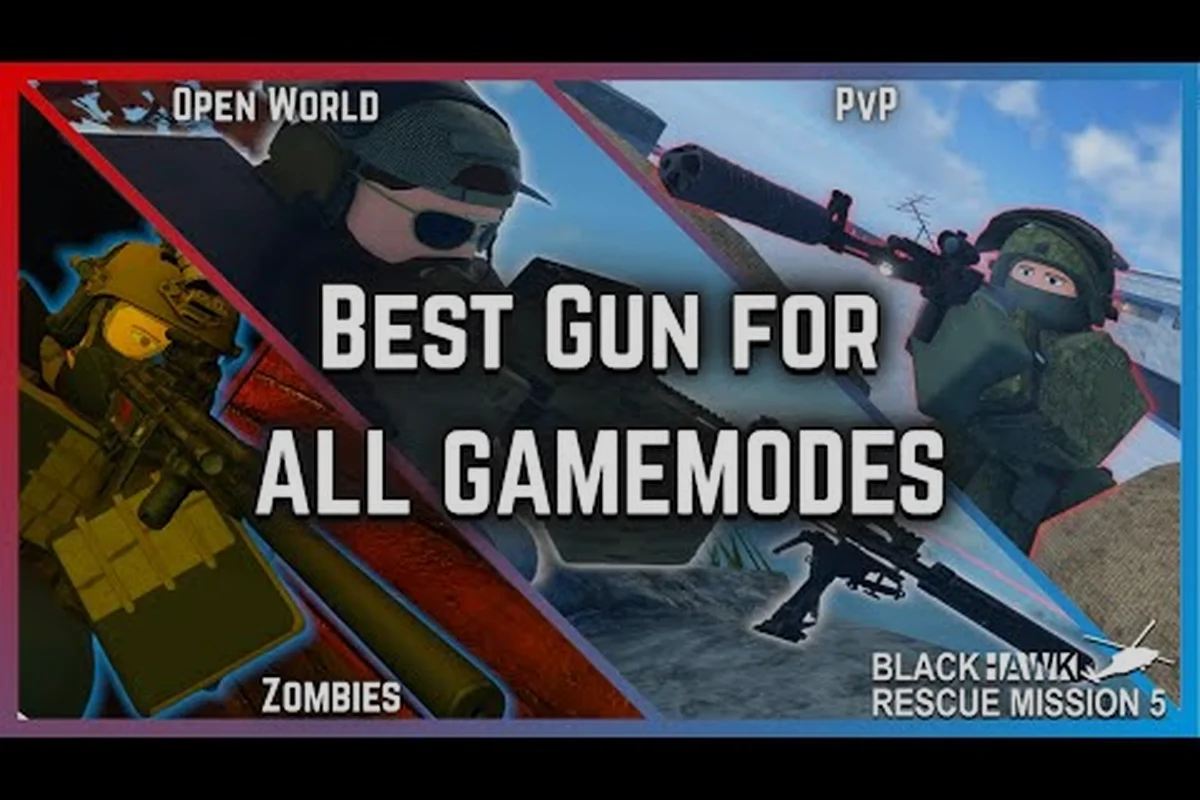
Most firefights in Blackhawk Rescue Mission 5 are decided before the first bullet lands, and the players who win them treat aim as a system rather than a reflex. This brm5 aim guide breaks down recoil control, peeking angles, cover movement, and sound awareness into a training loop you can run in a single sitting. Stick with it and your fights stop being coin flips.
For community-tested answers, the discussion thread below is the most detailed source: the r/BlackhawkRescue best-primary discussion on brm5-aim-guide.
Recoil Control Fundamentals for BRM5
Recoil in Blackhawk Rescue Mission 5 follows the same arc as most tactical shooters on Roblox: every automatic weapon climbs on a predictable vertical path, with a smaller horizontal wobble that drifts left and right between shots. The trick is learning each gun's rhythm well enough to compensate before the muzzle leaves the target's upper chest, because the first 3-5 shots are where duels are actually won.
Why Recoil Drills Beat Aim Training
Free-for-all deathmatch is a great place to warm up, but raw aim training does not teach you to fight against a weapon's specific pattern. A recoil drill does. Pick a wall, stand five meters back, fire 30-round bursts on full auto, and drag your crosshair down at the same speed the bullets climb. After three or four magazines, the spray will start to look like a straight vertical line on the wall. That muscle memory transfers directly into PvP, and it is the foundation of every brm5 recoil control setup.
Reading a Weapon's Climb
Not every rifle behaves the same way. Full-auto 7.62 platforms like the AK74 and FAL climb harder and recover slower than 5.56 platforms like the L85 or M4A1, so they reward short, timed bursts instead of mag-dumping. SMGs and PDWs are the opposite: they barely climb, but their first-shot accuracy is weaker, so you have to commit to a longer trigger pull to land clean headshots. Community testing on the BRM5 Best Primary Weapon Video puts the L85 at the top of the 5.56 tier for a reason: it is the most forgiving platform for players who are still learning the climb.
Sensitivity and Mouse Pacing
Sensitivity is the hidden multiplier under your recoil control. If your ADS sensitivity is too high, even a perfect spray will look like a chalk line on a seismograph because the micro-corrections get amplified. Most top players run a moderate optic sensitivity with a slightly higher hipfire sensitivity so they can swing onto targets fast, then settle the crosshair once they hit the optic's magnification. Lower the multiplier in 0.1 steps until the wall-test spray stops drifting side to side, and leave it there for at least a week before judging it.
| Recoil Pattern Tier | Weapon Class | Vertical Climb | Best Firing Mode | Reset Time |
|---|---|---|---|---|
| Gentle | 5.56 rifles (L85, M4A1) | Low | Full auto OK past 10 m | ~0.4 s |
| Moderate | 7.62 rifles (AK74, FAL) | Medium | 4-6 round bursts | ~0.6 s |
| Steep | LMGs and high-cal DMRs | High | Tapped or 2-round bursts | ~0.9 s |
| Flat | SMGs and PDWs | Very low | Full auto, commit longer | ~0.3 s |
A 10-minute wall drill every time you log in is the fastest way to move down a tier. The goal is not to memorize the pattern; it is to make the compensation feel automatic so your brain is free to read the enemy's strafing.
Peeking Angles and When to Swing
A peek is a question you ask the enemy: "Are you watching this corner?" Their answer is whether you live. In Blackhawk Rescue Mission 5, peeking well is the single biggest difference between average players and the ones who top the kill feed, because every engagement starts with one player exposing themselves to find information.
Wide vs. Jiggle Peek
A wide peek is a committed swing where you expose your shoulder, fire one or two shots, and reset behind cover. It works best when you know the enemy is distracted or holding a different angle, because you are giving up your position in exchange for guaranteed damage. A jiggle peek, by contrast, only exposes a sliver of your hitbox for a fraction of a second. You never intend to fire — you only want to confirm where the enemy is, then re-peek from a different angle with the information you just bought. Community players on r/BlackhawkRescue consistently call jiggle peeking the strongest baseline skill for new PvPers because it punishes greed without spending health.
Pre-Aim and Crosshair Placement
Pre-aiming is the boring half of peeking, and it is the half that wins. Before you swing, your crosshair should already be resting on the head-height pixel of the corner you are about to expose. That way, the moment you see the enemy, your optic is already in the headshot window and you only have to click. If your crosshair is dragging along the floor, every peek becomes a flick shot, and flick shots lose duels against players who are already aimed in. Good crosshair placement is also what lets a short SMG beat a long 7.62 rifle, because the SMG user can swing a tighter angle and still land first.
Peeker's Advantage in BRM5
Because Blackhawk Rescue Mission 5 uses networked hit registration, the player who initiates the peek almost always sees the defender first. That advantage is real but small — roughly 100-200 milliseconds on a stable connection — so the trick is to chain peeks instead of stopping at one. Swing, fire, reset, swing from a different corner. The defender has to re-aim between every swing, while you only have to re-aim once. The flip side is that peeker's advantage collapses the moment you stop moving: if you hold a wide peek for too long, the defender's reaction time catches up and you become the one staring at a corner.
| Peek Type | Risk Level | When to Use | Ideal Range |
|---|---|---|---|
| Jiggle peek | Very low | Information gathering, pre-round | Any |
| Shoulder peek | Low | Confirming an AWPer or DMR holder | Mid (15-40 m) |
| Wide swing | Medium | Punishing a distracted enemy | Close (under 15 m) |
| Commit push | High | Finishing a low-HP target, team trade | Very close (under 8 m) |
A clean trade in BRM5 is almost always a chain of small peeks rather than one wide swing, because each jiggle or shoulder peek only forces the defender to re-acquire your silhouette while you already know where they stand. Escalate to a wide swing only when the defender has committed to a pre-aim that you can punish, when you have a teammate trading, or when the target is already below 40 HP and a single spray will close the round — otherwise you're feeding back the 100-200ms peeker's advantage you just earned.
Cover Movement and Trading
Cover in BRM5 is not just "stand behind a wall." Every solid object in the game blocks bullets along specific sightlines, and knowing which corner protects which part of your body is the difference between a clean trade and a feeder round. The official Blackhawk Rescue Mission 5 game page lists more than 20 vehicles and dozens of urban props that double as cover, so the maps give you plenty of options if you know where to look.
Hard Cover vs. Soft Cover
Hard cover fully blocks bullets: concrete walls, vehicle chassis, shipping containers, and most of the game's structural geometry. Soft cover — thin wood, sheet metal, foliage, debris — only blocks line of sight, not bullets. Many new players get deleted because they hid behind what looked like a wall and were actually behind a fence. Treat anything you cannot crouch behind fully as soft cover, and only commit to a hold if your body is fully obscured on the enemy's screen.
Trading Efficiently
A trade is when you trade your position for damage, or your life for a kill. Good trades in BRM5 happen in pairs: you swing, you land two shots, you reset, and your teammate swings the same angle the moment you are back behind cover. Solo players do not get a teammate to lean on, so they have to manufacture the trade by themselves. The cleanest solo trade is a jiggle peek that confirms an enemy, followed by a wide swing that lands one headshot and a body shot. Anything more is gambling, and gambling loses rounds.
The brm5 Movement Guide Mindset
The brm5 movement guide mindset treats every meter of open ground as a decision. Crossing a street without a smoke is a coin flip; crossing a street with a teammate holding the angle is a calculated risk. Keep your AD strafing unpredictable while in the open, but stop strafing the moment you reach cover, because momentum carries you past the corner and exposes your hitbox. Slide-hopping and crouch-jumping break enemy crosshair tracking, but they also cost you accuracy, so only use them when you are already committed to the push.
| Movement Decision | When It Pays Off | When It Fails |
|---|---|---|
| Wide strafe across open ground | No enemy is aiming at you yet | Enemy is pre-aimed at the gap |
| Slide-cancel into cover | Closing the last 2-3 m of a push | Used too far from cover and you slide into a bullet |
| Crouch-walk to a corner | Enemy is holding head-height | Enemy just switched to a leg-shot pre-aim |
| Sprint-to-cover | Resetting after a peek | You cross an open sightline a teammate cannot cover |
If you want a deeper breakdown of how cover interacts with map geometry, the Blackhawk Rescue Mission 5 beginner guide covers map pacing in its movement section, and you can pair that reading with the brm5 cover guide's table on sightline length versus the time it takes an M4A1 tracer to reach a shoulder-peeking target, since cover that "looks safe" past 25 m still punishes hesitation if your AD strafing rhythm stalls behind the corner.
Crosshair Discipline and Target Switching
Crosshair discipline is the silent skill that separates a player who wins 1v1s from a player who only wins 2v1s. It is the habit of keeping your reticle on a meaningful target — or on the spot where a target is about to appear — every single frame, even when nothing is happening.
Tracking Moving Targets
Most players lose duels not because their sensitivity is wrong, but because their crosshair falls to the floor between engagements. After every kill or every reset, drag your reticle back up to head height and onto the next likely angle before you relax. The moment you let the crosshair drop is the moment the next enemy swings you and gets a free kill. In a brm5 movement guide context, this is also how you avoid tunnel vision while rotating: the crosshair should always be in motion toward the next piece of cover, not parked on the ground.
Target Switching in Multi-Enemy Fights
When two or more enemies swing the same corner, you have to make a hard decision in under a second: which one do you shoot first, and which one do you accept damage from. The rule most high-ranked players follow is "shoot the one already aimed at you." That is the enemy whose crosshair is closest to your head, so eliminating them removes the largest incoming threat. Once they drop, flick to the second target and finish them before they finish you. A common mistake is to shoot the lowest-HP target first because they look like a guaranteed kill, but a low-HP enemy who is already aimed at your head is more dangerous than a full-HP enemy who is still swinging onto you.
Crosshair Color and Sight Choice
Sight choice quietly affects your crosshair discipline more than players realize. A busy reticle with a giant outer ring looks cool, but it covers more pixels than a thin chevron, which means it covers part of the enemy's head. Thin lines and small center dots give your brain more of the target to look at, and they make micro-flicks feel more precise. Pick the smallest reticle you can still see on a bright map, and stick with it.
| Sight Type | Best For | Trade-off |
|---|---|---|
| Red dot | Close-mid fights, fast swings | No magnification for long range |
| Holographic | Similar to red dot, clearer ring | Slightly more visual clutter |
| Low-power optic (1x-2x) | Mid range, versatile | Heavier sway while moving |
| Medium scope (3x-4x) | DMR-style holds | Slow target acquisition up close |
| High scope (6x+) | Long range poking | Almost unusable in CQB |
A consistent optic is more important than the "right" optic, and the same rule applies to your reticle shape and color. The sooner you stop swapping sights between rounds, the sooner your muscle memory can settle — your brain locks onto the exact pixel offset between the reticle gap and the target's head hitbox, which directly tightens your brm5 aim guide fundamentals. Even switching from a 1x red dot to a 2x holo changes the perceived sight picture by several screen pixels, forcing a micro-recalibration every fight. Pair your optic lock-in with a crosshair color that contrasts your most common map palette (bright greens for desert BR maps, red or magenta for snow loadouts), and you eliminate an entire layer of target acquisition delay.
Sound Awareness and Information Warfare
Sound is the most underused piece of information in Blackhawk Rescue Mission 5, and the brm5 sound awareness skill is what lets you win fights you never saw coming. Footsteps, magazine swaps, reloads, and even weapon switches are loud enough to give away an enemy's position long before their model appears on your screen.
Reading Footsteps
Every surface in BRM5 has a different footstep audio profile: metal grates click, wood creaks, concrete thuds, and grass barely whispers. Train yourself to associate the sound with the surface, because that tells you which corridor or rooftop the enemy is crossing. Footstep direction is also rough but usable: if a sound is louder in your left ear than your right, the enemy is on your left. A good pair of headphones is the cheapest upgrade you can make to your PvP performance, and turning off music or reducing master volume on SFX-heavy channels is the second-cheapest.
Baiting Reloads
Reload sounds are louder than footsteps, and they last longer. If you have just dumped a magazine into a corner and missed, the enemy almost certainly heard it. That means right after a reload is the moment they will most likely swing. Bait the reload by pulling back, counting to one, and re-peeking — many enemies will have committed to swinging onto your "safe" corner and you can catch them mid-animation. Baiting also works in reverse: deliberately reload behind cover to make the enemy think you are empty, then pre-aim the swing they are about to take.
Information Denial
The flip side of sound awareness is making sure you do not give the same information away. Walk everywhere you do not need to sprint, crouch when you are closing the last few meters of a rotation, and reload behind hard cover instead of out in the open. Do not jump unless you are sure the enemy is not in audio range, because jump-land is the loudest single sound in the game. If you are playing with a squad, designate one player to push on a sound cue while the rest hold angles, because a coordinated audio read is much harder to fake than a solo one.
| Sound Cue | How Far It Travels | What It Tells You |
|---|---|---|
| Sprinting on metal | ~25-30 m | Enemy is moving fast, likely rotating |
| Walking on grass | ~5-8 m | Enemy is trying to be quiet, probably close |
| Magazine reload | ~30-40 m | Enemy is empty, swing window opens |
| First shot from a sniper | ~40+ m | Enemy is holding a long angle, do not peek |
| Suppressed fire | ~10-15 m | Enemy is being careful, treat as bait |
Putting It All Together: A Daily Aim Routine
Skills only stick if you train them on a schedule, and aim in Blackhawk Rescue Mission 5 is no different. A focused 15-20 minute routine before you queue into real matches is enough to keep your brm5 aim guide gains from decaying between sessions. The block below is what competitive community players on r/platinumfive tend to recommend for players who want a structured warm-up.
| Block | Time | Drill | Goal |
|---|---|---|---|
| 1 | 3 min | Wall recoil test with main rifle | 30-round burst under 15 cm vertical drift |
| 2 | 4 min | Jiggle-peek bot arena | 80% info peeks without taking damage |
| 3 | 4 min | 1v1 arena, A site only | Win 6 out of 10 duels |
| 4 | 3 min | Sound-only rotation | Identify three bots by audio alone |
| 5 | 3 min | FFA deathmatch | Average 1.5 KD before queuing |
| 6 | 3 min | Cool-down TDM, focus on crosshair height | Crosshair never below chest line |
Run this routine in the same order every time, and your brain will start to associate each block with a specific skill. After two weeks you will notice that your first duel of the day feels warm instead of cold, which is the entire point. For more on how loadout choices feed into aim training, the BRM5 damage charts guide breaks down time-to-kill by weapon so you can pick a platform that matches the recoil you just trained.
Frequently Asked Questions
What is the best weapon to start recoil training with in BRM5?
The L85 is the best training platform because its 5.56 pattern climbs gently and recovers quickly, so you can feel compensation without losing the entire magazine to the ceiling. Once you can hold a 30-round burst on a wall with the L85, the AK74 and FAL feel like a smaller jump than they would otherwise.
How do I peek a sniper without dying in Blackhawk Rescue Mission 5?
Jiggle peek first to confirm the angle, then swing from a different corner the sniper is not pre-aimed on. Sniper players are rewarded for holding one spot, so any movement that changes the angle you expose forces them to flick, which is where they are weakest. Never commit to a wide swing on a confirmed sniper without a teammate trading the angle.
Does brm5 sound awareness really matter with footsteps this loud?
Yes, because the loudest cue in the game is the enemy reload, which is louder than any footstep and lasts a full second. If you track reloads, you can swing the corner the moment an enemy goes empty, even through two layers of cover. That single audio read wins more rounds than raw aim.
Should I run the same sensitivity for hipfire and ADS?
Most top players run a slightly higher hipfire sensitivity than ADS sensitivity, because hipfire is for fast target acquisition and ADS is for fine compensation. A common starting split is 1.0 hipfire and 0.7-0.8 ADS; tune from there based on how easily you can track strafing targets while ADSed.
Can I win 1v2s in BRM5 with good movement alone?
Good movement wins you the time to land clean shots, but it does not replace aim. The realistic ceiling of pure movement is taking one enemy down before the second lands a full spray on you, which is a 50-50 at best. Pair the brm5 movement guide habits with recoil control and you can swing that 50-50 into a 70-30.