
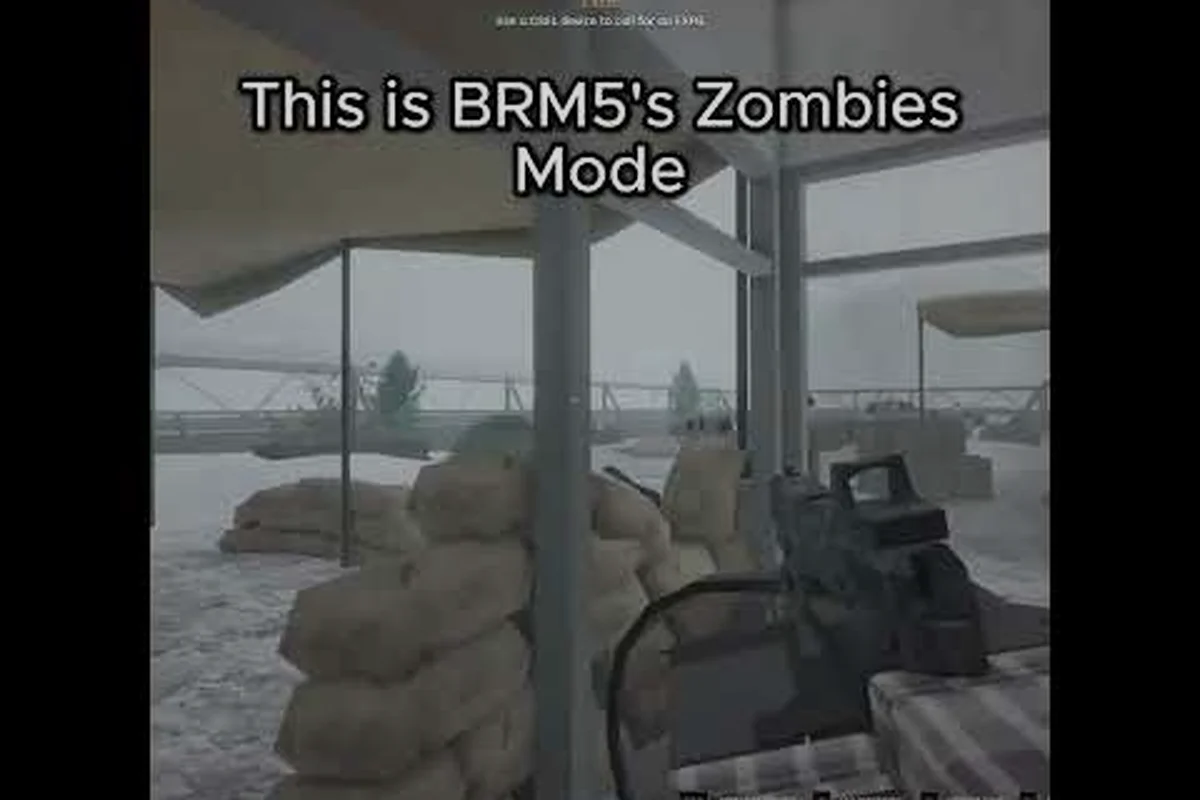
Manhattan after dark is a different kind of disaster zone, and brm5 zombies throws you straight into the thick of it. This breakdown of brm5 zombie mode covers both Rescue and Survival rules, the 18:00-22:00 night horde window where the brm5 zombie horde gets truly lethal, and the extraction paths that decide whether your squad banks its haul or bleeds it back on the pavement. If you have ever watched a raid fall apart because nobody called the extraction, these brm5 zombies tips should change the math next time you drop in. When you pair those extraction calls with a reliable crowd-clearing weapon from our Brm5 Zombies Best Gun loadout, you stop bleeding the bank on every round and start turning the late-game timers into your squad's favorite payday window.
The zombies in BRM5 are defined by data-driven behavior patterns and stats set by the developers, and according to the Blackhawk Rescue Mission 5 game page, these mechanics are outlined in the official description, which documents spawn waves, health values, and damage outputs that modders and players rely on when balancing or referencing BRM5 zombies content.
For a closer look at this topic, the official video below breaks it down in full: the BRM5 Zombies economy video on brm5-zombies.
brm5 Zombies Mode Overview: What You Are Dropping Into
brm5 zombies is a round-based PvPvE mode layered over a slice of the Manhattan open world, built on top of the same extraction loop used by the regular operations in Blackhawk Rescue Mission 5. You spawn in with a small starting loadout, scavenge cash and gear from the downtown block, and fight through increasingly dense waves of infected while keeping an eye on the real threat: the player squad on the other rooftop who also wants the loot.
The mode is designed for short, high-stakes raids. Most successful brm5 zombies runs last somewhere between 18 and 28 minutes, which is the sweet spot the community has settled on after hundreds of drops. Going short means you miss out on the high-tier cash drops that only spawn during the late rounds. Going long usually means you have overstayed and the extraction timer is going to catch you mid-pack.
| Mode Attribute | Rescue | Survival |
|---|---|---|
| Primary objective | Locate and extract downed NPC civilians | Hold a marked compound until timer ends |
| Round cap | 8 rounds | 12 rounds |
| Cash multiplier per round | x1.2 | x1.5 |
| Extraction window | Opens round 6 | Opens round 8 |
| Squad size | 1-3 players | 2-4 players |
| PvP risk level | Medium | High |
Rescue rewards squads that move with purpose, while Survival is built for teams that want to dig in and grind out the round bonuses. Knowing which mode fits your squad's playstyle is the first real decision, and it shapes everything from your starting loadout to which extraction route you memorize before the brm5 zombie horde rolls in at dusk.
How a brm5 Zombies Raid Actually Starts
Every brm5 zombies guide worth its salt starts at the lobby screen. You queue, pick your mode, select a spawn district from the four available Manhattan sectors, and drop in. The lobby gives you roughly 45 seconds to kit up from your stash before the match begins, which is where veteran players already start cutting weight and locking in roles.
The opening two minutes are the quietest part of any raid. The brm5 zombie horde is still thin, ambient infected are mostly stragglers, and the only gunfire you usually hear is another squad clearing a building. This is when you should be hitting safes, looting NPC drops, and tagging the extraction routes you plan to use later. A common mistake new squads make is engaging every zombie they see in the first minute, which burns ammo that you will desperately need once the night horde window opens.
Manhattan Map Layout and District Spawns
The brm5 zombie mode plays out across four Manhattan districts: Financial, Midtown, Docks, and Warehouse. Each district has its own loot density, zombie spawn pattern, and extraction chokepoints. Financial is the cash-rich pick because the high-rise offices have dense safe spawns, but it also has the longest sightlines, which makes long-range PvP engagements more common. Docks is the opposite: open ground, fewer buildings, but a fast extraction if your squad grabs a boat key.
| District | Loot Density | Zombie Density | Extraction Difficulty | Avg. Squad Survival |
|---|---|---|---|---|
| Financial | High | Medium | Hard | 42% |
| Midtown | Medium | High | Medium | 51% |
| Docks | Low | Low | Easy | 64% |
| Warehouse | Medium | Medium | Medium | 55% |
brm5 Zombies Rescue Mode: Civilians, Timers, and the Real Objectives
Rescue is the brm5 zombies mode that most beginners try first, and for good reason. The round structure is forgiving, the cash multiplier is decent, and the objective markers are clearly visible on the HUD. The premise is simple: civilian NPCs are scattered through the district, marked with green flares when active, and your squad needs to reach them, patch them, and escort them to the extraction point before the timer runs out.
The catch is that the brm5 zombie horde is not the only thing hunting those civilians. Any player squad on the map can also shoot the NPC and deny the rescue, which makes Rescue the most PvP-flavoured brm5 zombie mode. It is not uncommon for a clean rescue to turn into a three-way fight between your squad, the zombies, and a rival squad who showed up to contest the drop.
Civilian Spawn Rules and Respawn Windows
Civilians in Rescue spawn in waves of two, with a new wave appearing every 90 seconds until round 6. After that, spawns stop and the map empties out as your squad should be moving toward extraction. The civilian AI is bare-bones: they follow the player who patched them, they panic when shot at, and they die in roughly 3-4 zombie hits if not escorted.
| Round | Civilians Available | Respawn Timer | Recommended Squad Action |
|---|---|---|---|
| 1-2 | 2 per wave | 90 sec | Clear nearby buildings, grab first 2 |
| 3-4 | 2 per wave | 90 sec | Push deeper, contest mid-map civilians |
| 5 | 2 final wave | 90 sec | Begin extraction prep, bank cash at drop box |
| 6-8 | None | N/A | Extract or hold perimeter |
The community has settled on round 5 as the natural "wrap-up" round because that is when the night horde window is about to slam open. If you have not started your extraction prep by the end of round 5, you are gambling with the brm5 zombie horde timer, and that bet usually does not pay off.
Rescue Loadout Choices That Actually Work
In Rescue, mobility beats raw firepower because you need to reach civilians before the zombies do, and you also need to outmanoeuvre rival squads contesting the same drop. The community's go-to Rescue loadout is a suppressed SMG, a sidearm, three medkits, and one ammo box. The suppression keeps you off the minimap while you move, and the medkit stack covers the inevitable scratch damage from brm5 zombie AI during the late rounds.
For the brm5 zombies beginner who is still learning map flow, a heavier loadout with an LMG and plated vest can work in the early rounds, but you will regret the weight once you need to sprint for extraction. Most Rescue squads cap their carry weight at 60% of maximum to leave headroom for the cash pickups in rounds 4 and 5.
brm5 Zombies Survival Mode: Holding Ground Against the Horde
Survival is the brm5 zombies mode where the PvE takes centre stage. Instead of hunting civilians, your squad is assigned a compound, and you need to defend it for 12 rounds while the brm5 zombie horde ramps up in density and aggression every two rounds. Extraction is optional but rewarding: if you survive all 12 rounds, you can extract with the full cash multiplier bonus, which is why squads that know how to hold ground make this their primary grind mode.
The compound itself is a reinforced building with pre-set barricade points, an ammo crate, and a medical station. The brm5 zombies Survival mode lets you reinforce barricades with scavenged wood and metal, which adds a layer of base-building that the Rescue mode skips entirely. A well-fortified compound can hold off the horde even at round 10, but a poorly prepared one collapses by round 6.
Horde Wave Scaling and the Night Window
The brm5 zombie horde scales predictably: each round adds roughly 20% more zombies, with a hard spike at round 8 when the night window fully kicks in. The night window is the 18:00-22:00 in-game time band, and it is the single most dangerous part of any Survival raid. Zombie speed increases, their aggro radius doubles, and special infected types start spawning, including the Crawler, the Bloater, and the Howler.
| Round | Time of Day | Zombie Count (est.) | Special Infected | Recommended Action |
|---|---|---|---|---|
| 1-2 | 16:00-17:00 | 15-25 | None | Fortify outer barricades |
| 3-4 | 17:00-18:00 | 30-50 | None | Stockpile ammo at crate |
| 5-6 | 18:00-19:00 | 60-90 | Crawler | Reinforce inner doors |
| 7-8 | 19:00-20:00 | 100-140 | Crawler, Bloater | Hold inner compound |
| 9-10 | 20:00-21:00 | 160-220 | All three types | Concentrate fire, save medkits |
| 11-12 | 21:00-22:00 | 250+ | All three types, boss-tier | Extract or final stand |
The Bloater is the special infected that breaks most squads, because its gas cloud deals AoE damage through walls and forces the squad out of cover. The Howler is the one that breaks stealth, because its scream alerts every zombie on the map to your compound's exact position. Learning which specials spawn in which round and saving your grenades for them is one of the brm5 zombies tips that separates consistent extractors from the squads who always fall at round 9.
Extraction After Round 12: Worth the Risk
If your squad survives all 12 rounds, an extraction chopper arrives at a marked landing zone roughly 200 meters from your compound. The catch is that the landing zone is not inside the compound, which means you have to break out, fight through the brm5 zombie horde, and reach the LZ while carrying everything you have earned.
Roughly 30% of squads that reach round 12 actually extract successfully, according to community data aggregated from squad logs. The rest either die on the way to the LZ, get picked off by a rival squad waiting in ambush, or decide the cash isn't worth the risk and wipe inside the compound instead. The squads that do extract almost always have one player designated as the LZ runner while the other three hold off the horde for 60-90 seconds.
brm5 Zombies Tips for Squads: What Veteran Players Actually Do
Most brm5 zombies guides will tell you to "communicate with your squad" and "manage your resources," which is true but useless. What veteran squads actually do is build a small playbook of habits that compound across dozens of raids, and those habits are what turn a 40% survival rate into a 60% one. The list below is the distilled version of that playbook, drawn from community reports and squad leader debriefs.
-
Bank cash every three rounds. The extraction point is not safe, and if you die with unbanked cash you lose it. The community rule of thumb is to bank at the round 3, round 6, and round 9 breakpoints, which leaves a small buffer if the extraction goes wrong.
-
Designate one squad member as the caller. This is the player who tracks the brm5 zombie horde timer, watches for rival squad movement, and calls the extraction decision. Without a caller, squads waste 30-60 seconds per round debating what to do next, which is usually the difference between banking the round bonus and wiping in the next wave.
-
Do not chase the last civilian in Rescue. The risk/reward math on chasing a single NPC into a contested building at round 6 is awful, and most veteran squads skip the final civilian in favour of a clean extraction. The cash is not worth the ammo or the downtime.
-
Stack grenades for the night window. Smoke grenades are the most underused tool in the mode. They break line of sight for both the brm5 zombie horde and rival squads, which gives you a clean window to reposition or revive a downed teammate.
-
Mark extraction routes before the horde hits. The biggest preventable cause of death in brm5 zombies is running into the extraction path blind because nobody cleared it during rounds 1-4. Veteran squads mark two extraction routes before round 6 and pre-clear the corners where zombies or PvP squads tend to camp.
These five habits are not flashy, and none of them will make a single raid go viral. But stacked across 20-30 raids, they are the difference between a squad that extracts consistently and one that bleeds cash every drop.
Squad Composition and Role Assignment
brm5 zombie mode rewards squads that assign clear roles before the raid starts. The most common setup is a 3-person squad with a Caller, a Scout, and a Banker. The Caller runs the timer and the extraction decision, the Scout runs ahead to clear extraction routes and tag rival squads, and the Banker stays near the cash deposit box to manage deposits. This three-role split is overkill for early rounds, but it pays off massively once the brm5 zombie horde density peaks in rounds 8-10.
For 4-person Survival squads, the extra slot usually goes to a dedicated Breacher who carries the heavy weapons and the explosive ammo. The Breacher's job is to kill special infected like the Bloater and the Howler before they can disrupt the squad's defensive positioning. Without a Breacher, Survival rounds 9-12 are almost unwinnable because the specials will shred any squad that is trying to focus-fire the regular horde.
brm5 Zombies PvP, Economy, and How Cash Actually Works
The brm5 zombies economy is the part of the mode that most guides undersell, and it is also the part that decides whether you are grinding efficiently or just feeding ammo to the brm5 zombie horde. Cash drops from zombies, from NPC civilians, from safes, and from rival squads you kill. The cash can be spent at the lobby vendor for permanent stash upgrades, or banked at the in-raid deposit box for raid-specific rewards.
The key mechanic most new players miss is the Stash. The Stash is a player-driven market that lets you list items for other players to buy with in-game cash. Squads that learn to flip loot through the Stash can double their effective earnings per raid, but the market is also where experienced PvP squads find their targets: high-value Stash listings often correlate with players who are carrying good gear out of a raid.
| Cash Source | Avg. Payout | Risk Level | Best Used By |
|---|---|---|---|
| Zombie kills | $50-200 per round | Low | All squads |
| NPC civilians | $300-500 each | Medium | Rescue squads |
| Safes | $800-1,500 | High | Experienced looters |
| Player kills | $200-400 + their gear | Very high | PvP-focused squads |
| Round completion bonus | $500-1,200 | Low | Survival squads |
| Extraction bonus | $2,000+ | Medium | Any squad that extracts |
The community's general advice is to treat Safes and Player kills as the high-risk, high-reward tier, and the zombie kill and round bonus as the steady income that funds the stash upgrades. Squads that chase the high-tier payouts every raid tend to bleed out by round 7; squads that bank the steady income and only go for the high-tier drops when the situation is clean tend to climb the leaderboards over a 30-raid window.
For a deeper look at the Stash market and how PvP squads use it to hunt, the brm5 pvp zombies breakdown covers the flip mechanics and the best loadouts for cash-heavy raids. If you are still figuring out the day-night cycle and how the brm5 zombie horde spawns ramp up, the brm5 zombie AI guide is the companion read that explains the infected-side mechanics in detail.
Frequently Asked Questions
What is the brm5 zombies mode and how is it different from regular operations?
brm5 zombie mode is a round-based PvPvE variant layered on top of the Manhattan open world, with Rescue and Survival as the two core modes. Unlike regular operations, you are fighting the brm5 zombie horde and rival player squads at the same time, and the extraction timer is tied to round completion instead of a single mission timer.
When does the brm5 zombie horde get most dangerous?
The brm5 zombie horde peaks during the in-game night window, which is roughly 18:00-22:00. Rounds 7-10 are the hardest because that is when the Crawler, Bloater, and Howler special infected start spawning, and zombie speed and aggro radius both increase. Squads that plan their extraction prep for round 5-6 usually avoid the worst of the spike.
Should I play brm5 zombies Rescue or Survival as a beginner?
Rescue is the better brm5 zombies beginner mode because the round cap is shorter, the objectives are clearer, and the cash multiplier is still solid. Survival rewards experienced squads that know how to fortify a compound and manage ammo over 12 rounds, which is a steeper learning curve. Most new players run Rescue for 5-10 raids before trying Survival.
Can I play brm5 zombies solo, or do I need a squad?
You can play brm5 zombie mode solo, but the survival rate drops sharply. Reported solo survival rates sit around 15-20% in Rescue and under 10% in Survival, compared to 50-60% for coordinated 3-4 player squads. If you are solo, stick to Rescue, bank cash aggressively, and extract at round 5 or 6 instead of pushing to the round 8 window.
Where do I extract in brm5 zombies, and what happens if I die before extracting?
Each brm5 zombies district has 2-3 marked extraction points, and the specific LZ is revealed on the map once the extraction window opens for your mode (round 6 in Rescue, round 8 in Survival). If you die before extracting, you lose all unbanked cash, but any cash you deposited at the in-raid deposit box stays safe, which is why banking early is one of the most important brm5 zombies tips for new players.