
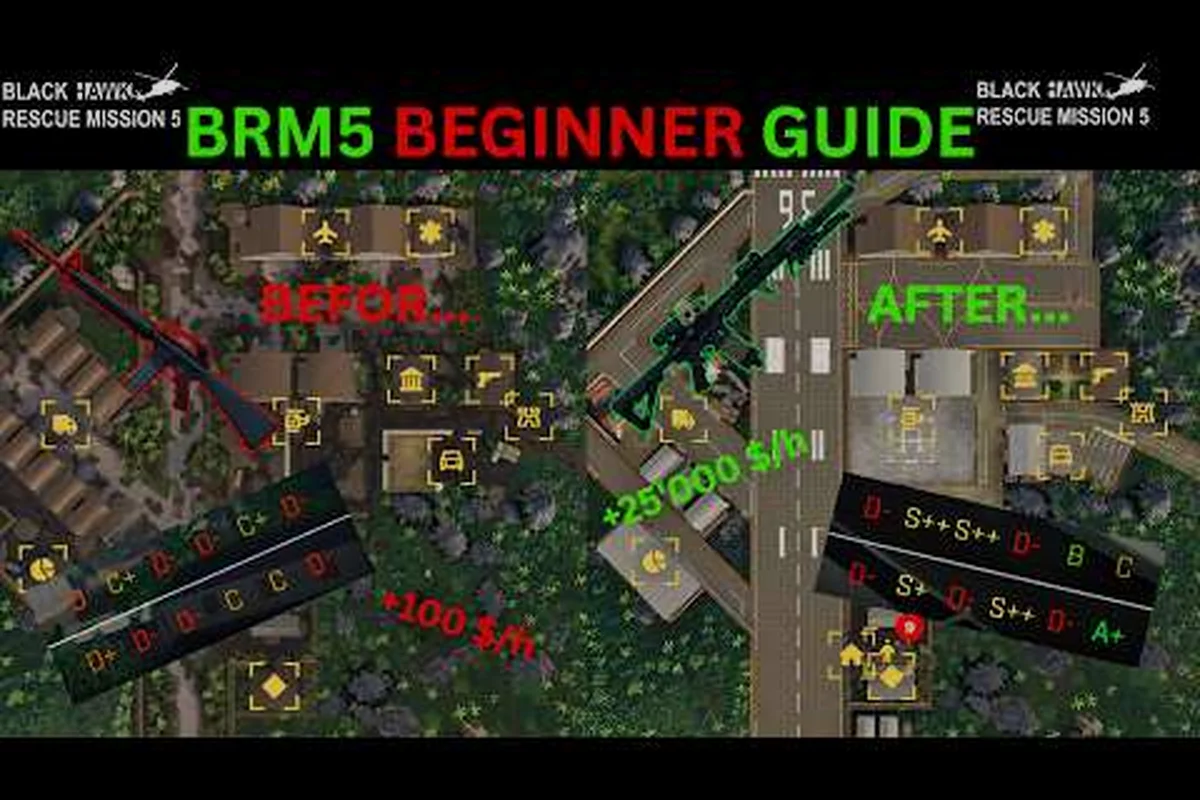
Your Headquarters in Blackhawk Rescue Mission 5 is the single biggest lever you have for new-player progression, and the room you upgrade on day one quietly decides how fast you can afford your first real gun, your first armored vehicle, and your first weapon attachment. Most rookies dump materials into the wrong room and wonder why their wallet still feels empty after two hours of patrols, so this guide breaks down the smartest brm5 hq for beginners upgrade order and ties every choice to a concrete payoff you can measure in your inventory screen.
The Blackhawk Rescue Mission 5 Headquarters is a multi-room base that generates passive income, unlocks research, crafts attachments, and stores vehicles, and the order in which you unlock those rooms shapes your entire early economy. The official game page on Roblox lists more than 70 weapons, 100+ attachments, 20+ vehicles, and over 1,000 uniform combinations, but none of that gear matters if your HQ cash flow stalls before you can buy it.
For a closer look at this topic, the official video below breaks it down in full: the BRM5 HQ money video on brm5-hq-for-beginners.
How the brm5 HQ Room System Fits Together
The HQ is split into roughly eight functional rooms, each tied to a different progression loop. Some generate passive cash while you are offline, others speed up research timers, and a few are pure convenience rooms that save you inventory trips. New players who treat every room as equally important end up over-investing in storage while their brm5 income per hour stays flat.
Core Room Categories
| Room Type | Primary Function | Best For Beginners? |
|---|---|---|
| Barracks | Squad management, deployable operators | Medium priority |
| Armory | Research, attachment crafting, weapon unlocks | High priority |
| Garage | Vehicle storage, vehicle upgrades | Medium priority |
| Armory Workshop | Material conversion, salvage | High priority |
| War Room | Mission unlocks, intel generation | Low priority early |
| Infirmary | Squad healing, XP boosts | Low priority early |
| Treasury | Passive cash storage, interest | High priority |
| Quarters | Operator morale, small bonuses | Skip for now |
Why Upgrade Order Matters
Each room has a tier ladder (T1 through T5 in most builds, according to the BRM5 Fandom wiki as of late 2025), and every tier costs more materials and cash than the last. If you push a single room to T4 before unlocking a second income room, you leave a lot of brm5 best money making method potential on the table, because two T2 income rooms usually out-earn one T4 room at a fraction of the upgrade cost.
brm5 hq Fastest Upgrade Priority for New Players
The brm5 hq fastest upgrade path is not "max one room first." It is a staged build that unlocks two income sources before touching anything cosmetic. Community data shared on r/BlackhawkRescue generally agrees on this staged order, though exact numbers shift with each major patch.
Stage 1 — Unlock Your First Two Income Rooms
| Step | Room | Target Tier | Why This Comes First |
|---|---|---|---|
| 1 | Treasury | T2 | Doubles offline cash storage, adds small interest tick |
| 2 | Armory | T2 | Unlocks first attachment research, weapon unlock slot |
| 3 | Garage | T1 | Opens vehicle storage, no upgrade cost yet |
| 4 | Armory Workshop | T2 | Lets you break down loot into craft materials |
Stage 2 — Layer in Research and Materials
Once you have two income rooms running, the next move is research, not more rooms. The Armory at T2 unlocks your first research slot, and that is where the brm5 income per hour curve actually bends. Each research project adds either a flat cash bonus, an XP multiplier, or a crafting discount, and stacking three small bonuses beats a single big one.
Stage 3 — Vehicles and Convenience
Only after Stages 1 and 2 should you push the Garage past T1 or start touching the Barracks. Vehicles are great, but a Stryker parked in an empty Garage does not earn you anything, while a Tier 3 Treasury keeps printing cash every time you log out.
brm5 Income Per Hour: How Cash Actually Scales
A common misconception is that brm5 income per hour is fixed. In practice, your hourly income is the sum of several smaller streams, and the HQ controls most of them. Players who ignore this usually cap out around 8,000–12,000 in-game currency per hour, while players who follow a structured HQ build regularly clear 40,000+ within their first week.
The Four Income Streams
| Stream | Source | Avg. Beginner Output | Scales With |
|---|---|---|---|
| Mission rewards | Patrols, bunker raids, side ops | 5,000–8,000/hr | Player skill, squad tier |
| HQ passive cash | Treasury + Quarters | 2,000–4,000/hr | Treasury tier, operators |
| Selling loot | Weapons, attachments, salvage | 3,000–6,000/hr | Loot drop rate, market prices |
| Event/Zombie payouts | Zombie mode, weekend events | 1,500–5,000/hr (spiky) | Mode chosen, round reached |
The trick is that each stream multiplies the others. A higher Treasury tier increases your offline cash cap, which means longer farming sessions are rewarded, and a higher Armory tier unlocks attachments that make missions faster, which means more loot to sell, which means more raw cash, which funds the next Treasury upgrade. Once you see the loop, brm5 income per hour stops feeling random and starts feeling like a build you can plan.
A Realistic Two-Hour Session Budget
| Time Block | Activity | Expected Cash |
|---|---|---|
| 0:00–0:10 | Collect HQ passive, queue research | 2,500 |
| 0:10–0:50 | One full bunker raid with a squad | 9,000 |
| 0:50–1:20 | Patrol loop, sell all gray-green loot | 5,500 |
| 1:20–1:40 | One short zombie mode run for event tokens | 3,000 |
| 1:40–2:00 | HQ upgrades, attachment craft, market flips | Variable |
That 25,000–30,000 in-game currency per two-hour block is the realistic target for a player who follows the brm5 hq fastest upgrade plan above, according to community data shared across the BRM5 YouTube community, including guides like the HQ and Money walkthrough.
brm5 Best Money Making Method for Early Players
There is no single "best" method, because the brm5 best money making method depends on your current HQ tier, your operator level, and whether you are playing solo or with a squad. That said, three methods consistently appear in player-reported tier lists, and each one maps to a different HQ room.
Method Comparison
| Method | Solo Friendly? | Avg. Cash/Hr | Best HQ Synergy |
|---|---|---|---|
| Bunker raids | Yes (slower) | 12,000–18,000 | Treasury tier, Armory research |
| Market flipping | Yes (AFK-friendly) | 6,000–10,000 | Armory Workshop for salvage |
| Zombie mode farming | Squad recommended | 8,000–14,000 (spiky) | Infirmary XP bonuses |
| Patrol contracts | Yes | 5,000–8,000 | Garage for fast travel |
Why Bunker Raids Lead the Tier List
Bunker raids combine mission cash, rare loot drops, and research token payouts in a single 30–40 minute loop. For a player running a beginner HQ build, that is the most efficient use of a play session, because every raid also ticks your research progress, which compounds your brm5 income per hour the next day.
When to Switch to Market Flipping
Once your Armory Workshop hits T2 and you can break down green and blue loot reliably, market flipping becomes the best AFK income. Buy underpriced attachments during off-peak hours, list them 10–15% above purchase during peak, and let the market do the work. This is one of the cleanest brm5 passive income loops because it does not require you to be online, and it pairs naturally with a deeper dive into the broader passive income strategy guide.
brm5 Stryker Money: Turning the Gunner Seat into a Cash Farm
The Stryker is an armored personnel carrier that shows up as a vehicle unlock around mid-progression, and once you own one, the gunner seat becomes one of the most consistent brm5 income per hour sources in the entire game. A squad of three — one driver, one gunner, and one repair operator — can run a Stryker patrol loop that prints cash, XP, and event tokens simultaneously.
Stryker Crew Roles
| Role | Primary Job | Income Contribution |
|---|---|---|
| Driver | Route choice, positioning | Indirect (keeps gunner alive) |
| Gunner | Suppress AI, clear checkpoints | Direct (mission cash, kills) |
| Repair op | Fix armor, resupply ammo | Indirect (prevents mission failure) |
The reason brm5 stryker money works so well is that the gunner seat scores kills passively while the squad moves between objectives, and every kill pays out a small cash bonus on top of the mission reward. According to a second community walkthrough focused on income and the Stryker gunner seat, the optimal pattern is a circular patrol between two mid-tier outposts, because AI density is high enough to keep the gunner busy but low enough that the repair op can keep up with armor damage.
Stryker Setup Checklist
-
Armor plating researched to at least level 2
-
Gunner seat upgraded with the +ammo perk
-
Driver perks focused on handling, not top speed
-
A second Stryker stored in the Garage as a backup
-
A repair operator with the Field Mechanic trait unlocked
If you can sustain a 45-minute Stryker loop with a squad, brm5 stryker money alone can rival a solo bunker raid, and it scales much better when you add a fourth squad member as a secondary gunner.
brm5 Zombie Mode Money: Spiky but Worth the Side Trips
Zombie mode is the wave-based PvE mode accessed from the HQ, and it is the most volatile income source in the game. A bad run pays almost nothing, a great run can pay more than a full bunker raid in half the time. For beginners, the smart play is to treat zombie mode as a side trip between HQ upgrades, not as your main grind.
Why Zombie Mode Cash Is Spiky
The brm5 zombie mode money curve is built around round milestones. Rounds 1–10 pay token amounts, rounds 11–20 unlock meaningful cash drops, and round 25+ triggers the real payouts. Most beginner squads wipe around round 12–15, which is why their per-hour numbers look bad, while coordinated squads that push to round 25 average a single payout larger than a full patrol session.
Zombie Mode Loadout Priorities
| Priority | Slot | Best Beginner Pick |
|---|---|---|
| 1 | Primary | High-mag LMG with spare ammo perk |
| 2 | Secondary | Shotgun for tight corridors |
| 3 | Melee | Crowbar or hatchet (saves ammo) |
| 4 | Grenade | Incendiary for horde groups |
The key beginner mistake is bringing a sniper rifle to zombie mode. The maps are tight, the hordes are dense, and a high-mag LMG will outperform almost any precision weapon until you have access to late-game marksman rifles with explosive rounds.
Common HQ Mistakes That Stall New Players
Even with the right brm5 hq fastest upgrade order, a few common errors can quietly drain your budget. These are the mistakes that show up most often in player-reported progression walls on community forums.
Mistake 1 — Maxing the Garage First
Vehicles are tempting, but the Garage has one of the worst early-game ROI curves in the HQ. A fully upgraded Garage at T4 costs more than a Treasury, Armory, and Workshop combined at T2, and it does not generate a single unit of passive cash. New players who dump materials into the Garage before unlocking two income rooms usually run out of money around day four and have to grind patrols to recover.
Mistake 2 — Skipping Marketplace Flips
The player-driven market is the single most underused brm5 income per hour source. Selling loot instantly to the vendor is fine, but listing a blue-rarity attachment on the market for 10–20% above vendor price often sells within an hour during peak play times. Skipping the market is leaving 20–30% of your loot value on the table.
Mistake 3 — Researching the Wrong Perks First
Every Armory research slot has three branches — cash bonus, XP bonus, and crafting discount — and most beginners pick XP because it feels productive. In practice, early research should prioritize cash bonus and crafting discount, because those two directly increase your brm5 income per hour, while XP bonuses only matter once you have a stable cash flow. This is also why pairing your HQ build with a dedicated leveling and XP route is more efficient than trying to grind XP through zombie mode alone.
Mistake 4 — Skipping Operator Slots
Each HQ room can host a small number of operators that boost output. Beginners often leave these slots empty because they are saving operators for missions, but an operator parked in the Treasury adds a flat cash bonus every collection cycle, which is essentially free brm5 passive income.
Frequently Asked Questions
What is the first HQ room new players should upgrade in Blackhawk Rescue Mission 5?
The Treasury is the smartest first upgrade because it unlocks offline cash storage and a small interest tick, which immediately starts compounding your brm5 income per hour. Pair it with the Armory at T2 as your second move so research and attachment crafting unlock at the same time.
How long does it take to max out the Headquarters?
A focused solo player can reach T3 across all primary rooms within two to three weeks of regular play, while a squad-optimized build with Stryker farming can hit T4 in the main income rooms within ten days. Exact timing depends on event rewards and how aggressively you use the market.
Is the Stryker worth buying early for brm5 stryker money?
The Stryker is worth it once your squad has a reliable repair operator and your Garage is at T1, but not before. Buying it earlier usually means spending cash you should have routed into Treasury and Armory upgrades, which slows your overall brm5 income per hour more than the gunner seat gains.
Does zombie mode pay better than bunker raids for brm5 zombie mode money?
On a good run, zombie mode can outpay a bunker raid, but on average, bunker raids are the more consistent brm5 best money making method. Treat zombie mode as a side trip between HQ upgrades, and run it when you have a coordinated squad that can push past round 20.
Should beginners sell loot on the market or to the vendor?
List anything blue rarity or higher on the market and let it sit for a day before vendoring. The market typically pays 15–25% more than the vendor for those items, and that gap adds up to several thousand in-game currency per week, which directly accelerates your next HQ upgrade.